
I was asked a question today, following a clip I uploaded to YouTube a few years ago;
How we made the Stabilo boss costumes for our girls.
The most difficult thing about costume is what to make because the idea is the hardest part .
We were lucky the girls came up with the idea and we were
"only left with the making of..."
Another thing to remember is... the effect of a costume is much stronger when it come in multiples of the same kind!!!!
After this information the last tip is......
Get a friend to work with or even two.....everything looks & becomes easier that way!!!!!
Well…
The best way to explain is with photos.... Stabilo boss highlighting marker costume= front
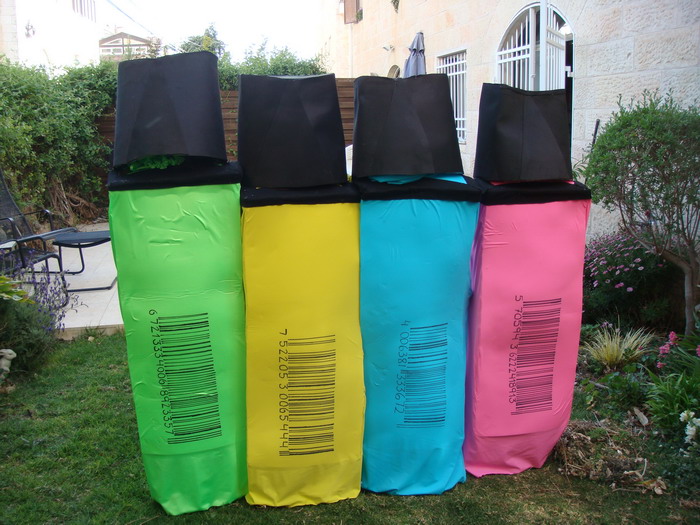 Stabilo boss highlighting marker costume=back
with bar code
 Stabilo boss highlighting marker costume=back
with bar code- cap off
For the hats- marker cover
*Sol foamed plastic surfaces of 2 mm thickness. Easy to cut, mufti-purpose, can be pasted on it and decorate with ease .
*cardboard to keep the shape
*everything glued with hot glue gun
*for the comfortably of the shoulders the inner part is lined with foam.


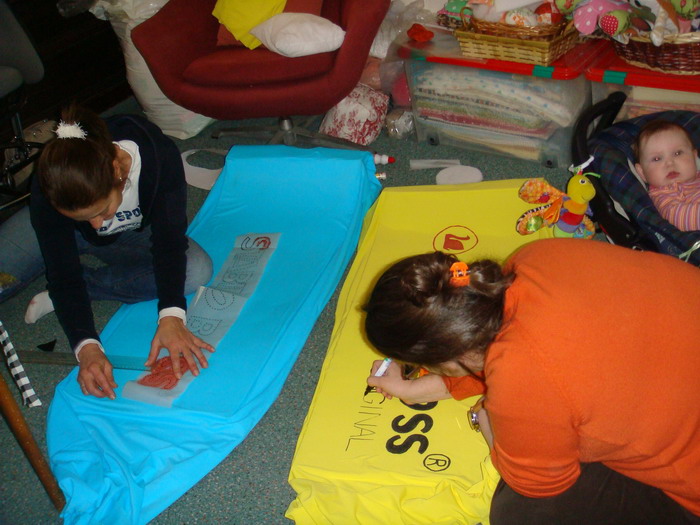
The body- Marker
Stretch fabric in various colors according to marker (each girl told us what color she wants)
Measure according to size of child or adult (I don't have the exact measurements) we made the size of our children they were 12 years old, but was also used adults ,since the fabric was stretch and elastic
We attached the foam to the cloth with glue
Foam mattress

Enlarge the pattern on to paper and make holes along the pattern
Mark on fabric according the holes
Fill in the color


costumes ready to ware


it even fits me..... I'm inside!
Don"t forget use your imagination .... everything is possible to make :-))
Have a Happy Purim .... Halloween
No comments:
Post a Comment